Aaron's Christmas Nutcracker !
One of my last big projects of this year was to make my Grandson a quilted nutcracker. He has an extensive collection of nutcrackers in all sizes and shapes. I have made him a nutcracker wall hanging and a quilt using nutcracker fabric. This year he asked for a quilted nutcracker - one that was the real shape of a nutcracker and not one on a background!!!! Well, what could I do? We all know that when a grandchild asks for something, we will do whatever it takes!! He asked and I set about to figure out how to do this project........something that I had no clue how to start.
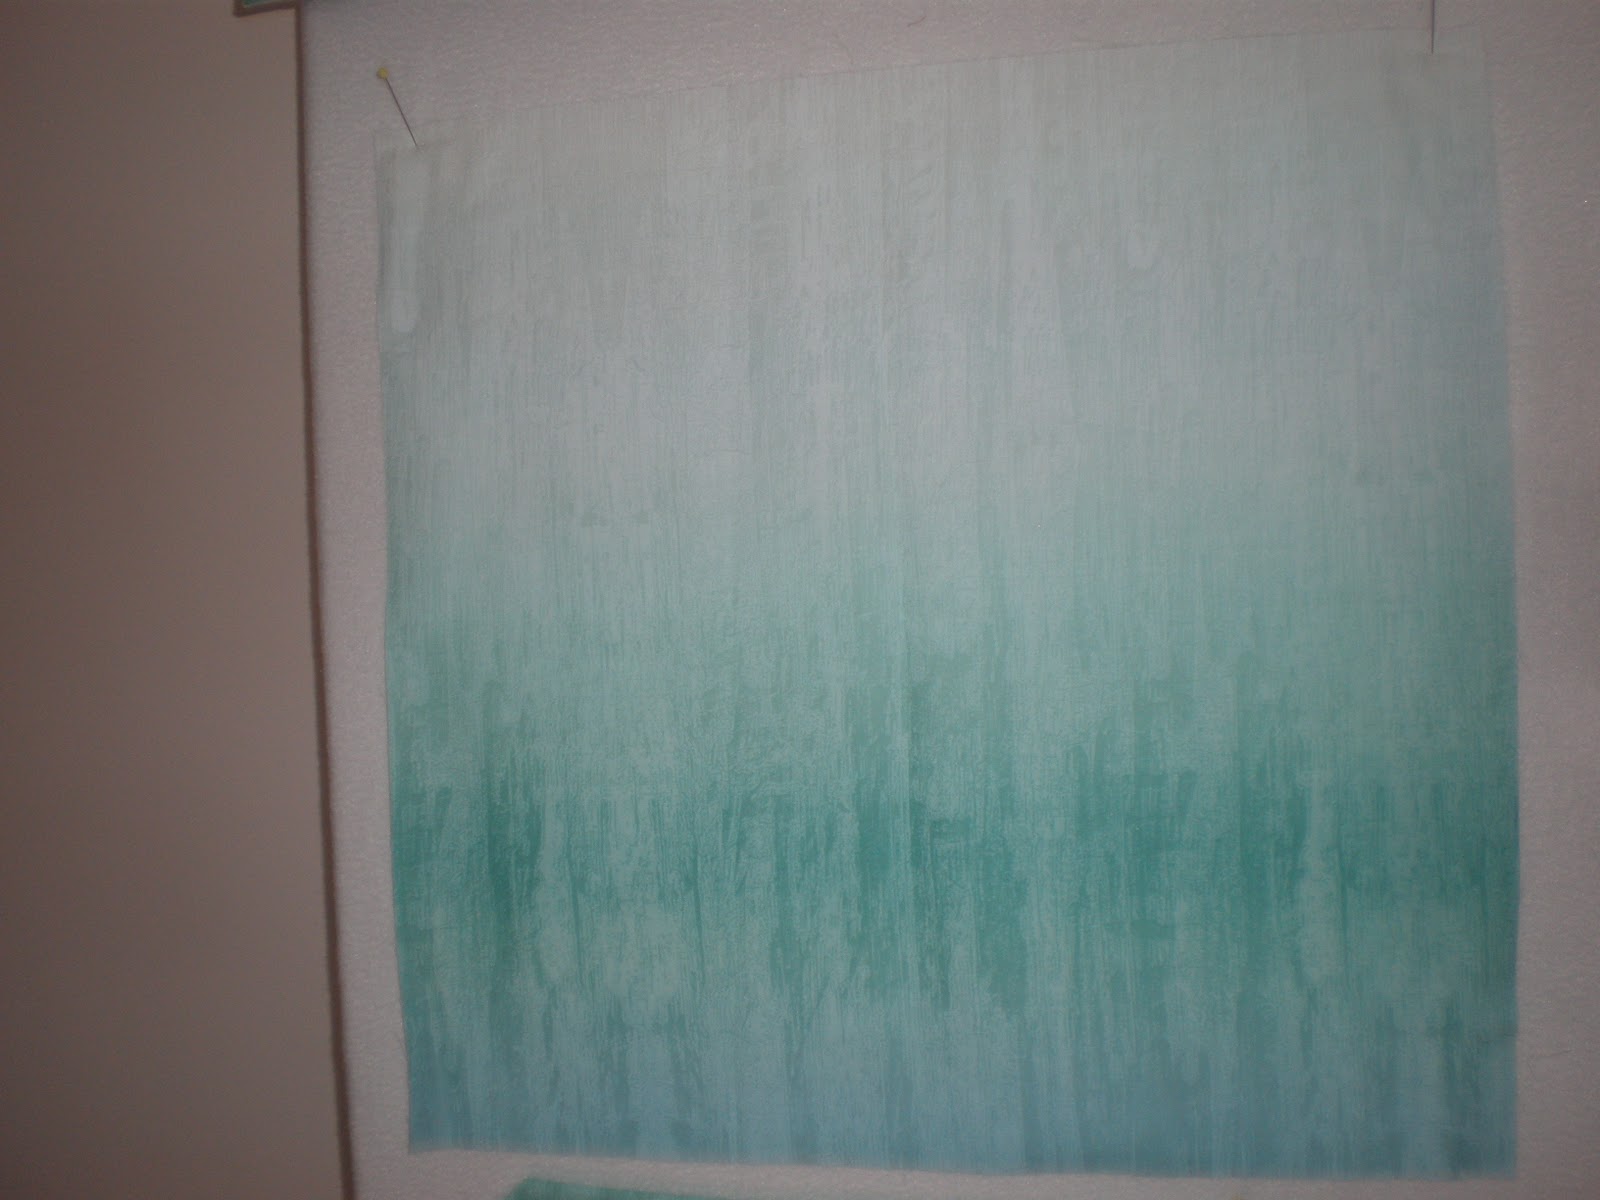
So I found this picture on the internet..
I cut it into 4 sections and kept enlarging
each section...... until I had this...on the right!
This is a tracing I made once I had the nutcracker from the internet enlarged to be 48 inches tall. I wanted it as tall as Aaron, but he is over 5 feet now. I had to stop somewhere.
These are some of the detailed pictures:
The star is made from gold lame.
The hair is a furry fabric with curly loopy yarn. I was so fortunate to find that.
The beard is white fleece.
The belt is from a piece of leather and the buckle is from a belt I purchased at Salvation Army store - just to get the buckle!
The shoes are more pieces of leather. The feet were actually the hardest to do of the entire thing. Not sure why, they just never did look right to me.
The final picture is the best! The looks on his face is the best thanks I could have gotten. I'd do it all over again for that look!!!
These are the silhouetted pictures I made for each of my daughters. When they were each in first grade, the teacher had a local artist come and do silhouettes of each of the children. They were done on paper and mounted to a sheet of white paper and sent home with the child as the Christmas gift for their parents. Over the years, that paper has yellowed and tattered. So, after seeing an article in Quilting Arts magazine, I decided to trace the silhouette and reproduce it on fabric. I reversed one so they would be facing each other, Karen, my youngest is on the left and Heather, the oldest is on the right. They both loved their Christmas Gift this year.
In conclusion......my wish to you all for a Happy and Healthy and Prosperous New Year! I love this quote......
"And now let us welcome the new year full of things that have never been.”
– Ranier Maria Rilke